How do you install a light switch in a new location
Installing a light switch in a new location is a straightforward project that can enhance the functionality and accessibility of your home lighting. To begin, you will need to gather specific materials: a new light switch, electrical wire, a wire connector, a new switch box, and tools including a screwdriver, wire cutters, a voltage tester, and a drill. By following proper procedures, you can successfully install a switch in a preferred location.
Gathering the necessary materials
The first step involves acquiring all the appropriate materials for the job. You will need a new light switch, which can be a single-pole switch or a three-way switch depending on your needs. The choice of the switch will mainly depend on how you plan to control the light (from one location or multiple locations). Additionally, you will require electrical wire—typically 12 or 14 gauge NM (non-metallic) wire is used for residential lighting circuits. A switch box is also necessary to house the switch safely. Ensure you have wire connectors to secure your connections and the correct tools, like a screwdriver and voltage tester, to facilitate the installation.
Understanding electrical codes and safety
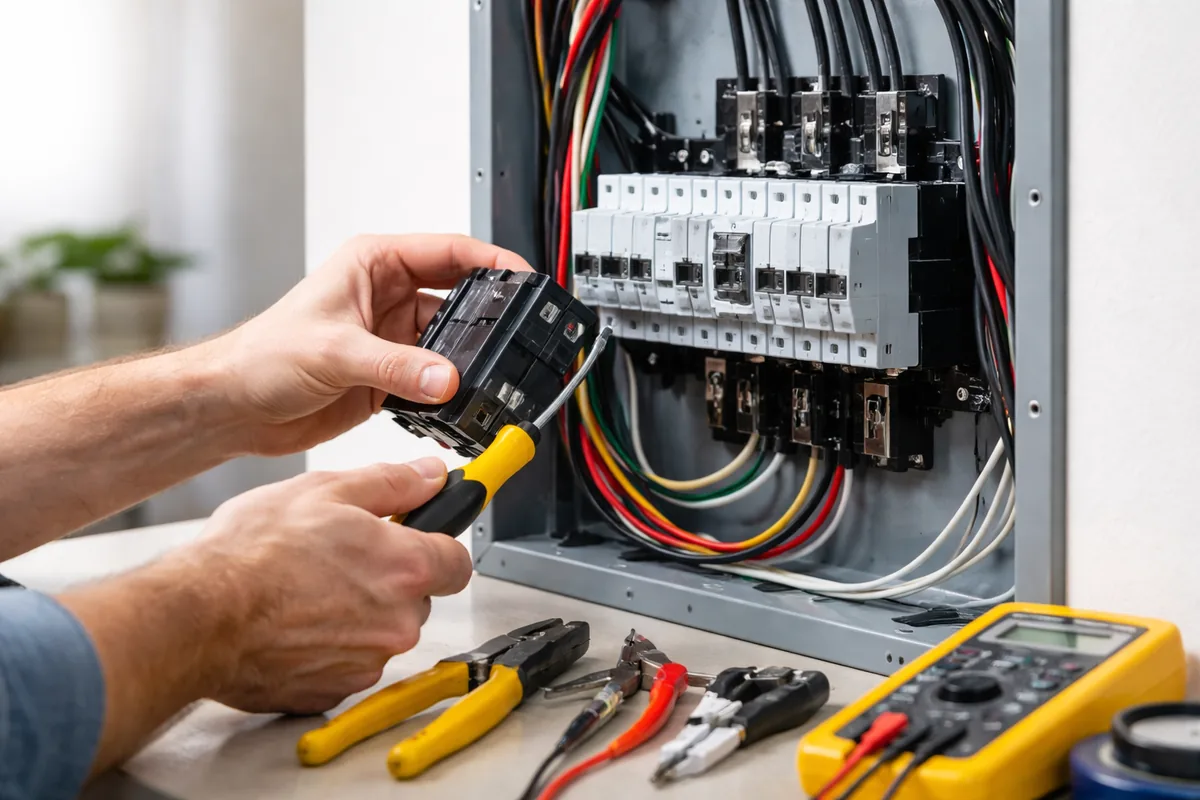
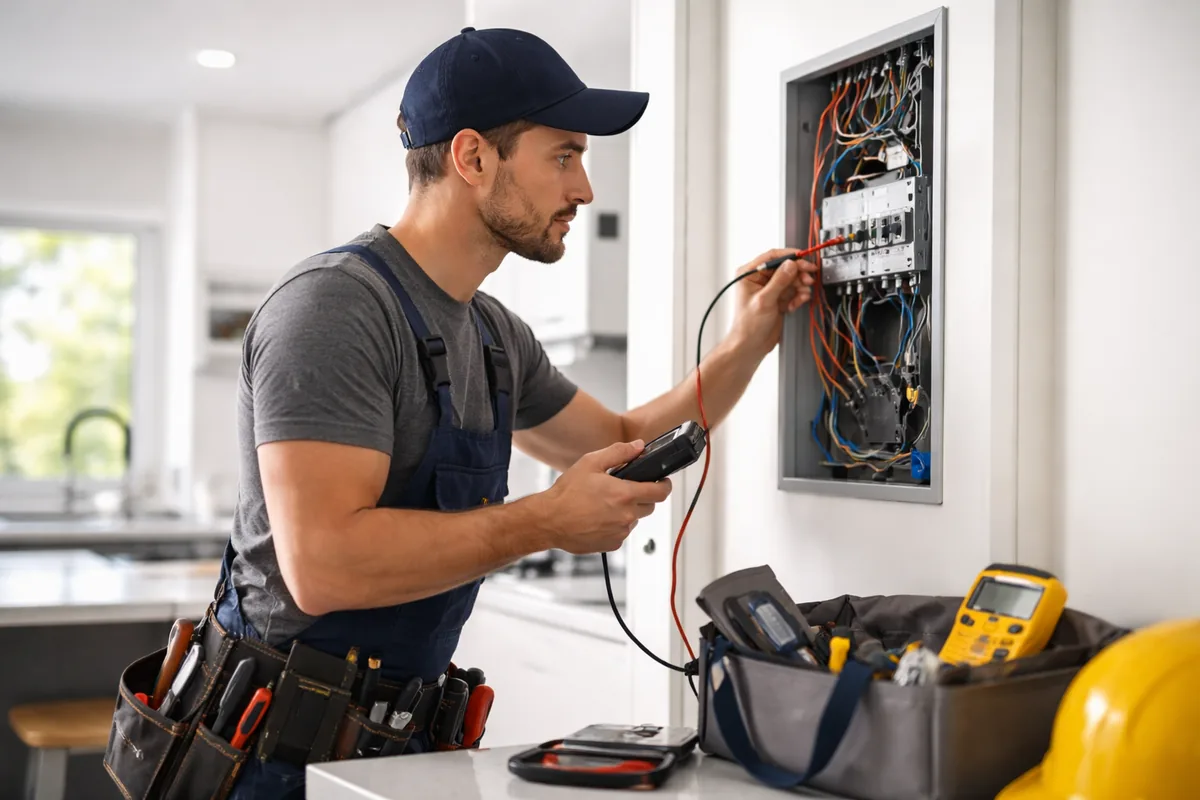
Before starting any electrical project, understanding the local electrical codes is critical. Ensure that you check for any specific building codes that may dictate where and how to install switches and outlets. Adhering to safety protocols is essential, so always turn off the power at the breaker box before beginning your work. Use a voltage tester to double-check that the power is off to the existing switch or the circuit where you will be working. This will help prevent electrical shocks and ensure a safe environment for your installation.
Planning the switch location
Deciding on the new location for your light switch is critical for functionality. Ideally, the switch should be placed near the entrance to the room it controls. Consider how the switch will be used and if it's accessible from where you usually enter the room. Mark the location on the wall where you want the switch to be installed. It should be approximately 48 inches off the floor, in line with ADA regulations for accessibility. At this point, you should also consider the proximity to the nearest power source and whether you will need to run new wiring.
Preparing for installation
Once the location is marked, you need to cut an opening for the switch box using a drywall saw. If you're adding a switch to a wall that already has wiring, you will need to fish the wire through the wall to reach the new box location. This process may require drilling holes in studs and the top plate of the wall to guide the cable properly. If running a new circuit, you must connect to your home's electrical service, which should only be done by a licensed electrician unless you are highly experienced.
Wiring the switch
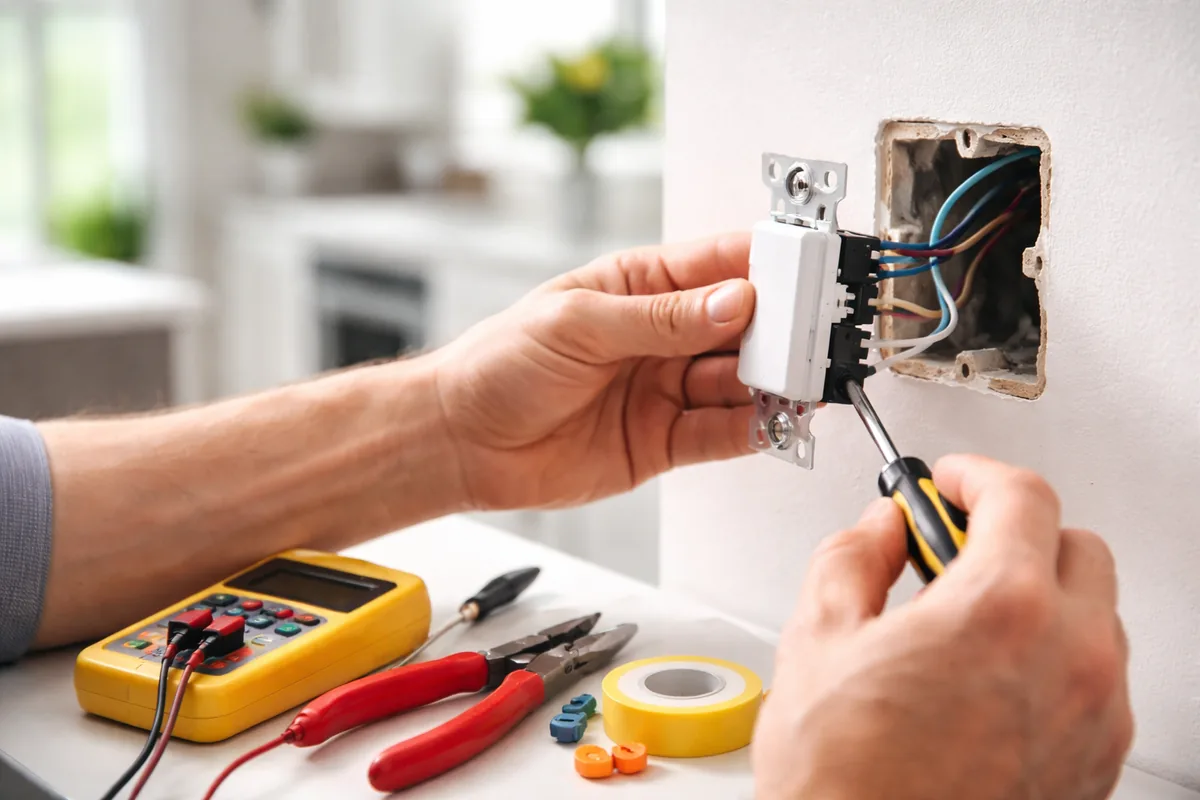
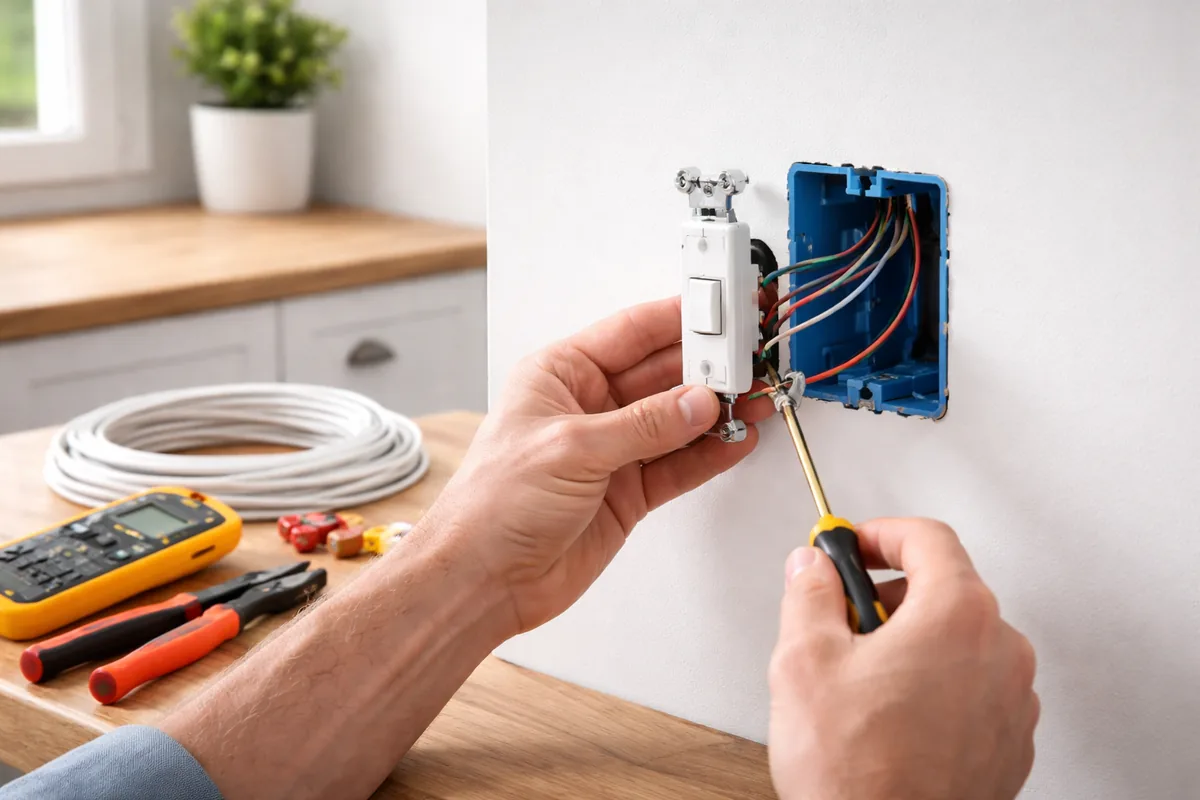
After preparing the location and installing the switch box securely in the wall cavity, it's time to wire the switch. Insert the electrical wire through the back of the switch box, leaving enough length to work comfortably. For a standard single-pole light switch, you will typically connect the black (hot) wire to one terminal on the switch and the other black wire leading to the light fixture to the second terminal. If you are using a ground wire (which is a bare or green wire), it should be attached to the green grounding screw on the switch. If you are not confident with electrical connections, consulting a professional can help ensure everything is correctly wired.
Securing the installation and testing
After you have wired the switch, you can secure it into the switch box with screws and attach the faceplate. It’s essential to ensure that there are no exposed wires and that everything is safely contained within the box. Once the switch is secured and the faceplate is on, you can restore power to the circuit from your breaker box. Test the switch by flipping it on and off to ensure it operates correctly. If the light turns on, your installation is successful!
Potential issues to look out for
Sometimes, even after following all installation steps, you may encounter issues. If the new switch does not work, it's possible that the wiring is incorrect, so double-check all connections. Breakers may also trip if the circuit is overloaded or if there is a short circuit. Ensure you haven't inadvertently damaged any wires during the installation process. Keep in mind that safety should always be your priority. If issues persist, calling a licensed electrician is advisable.
| Material | Description |
|---|---|
| Light switch | A device to control the on/off functionality of electrical lights. |
| Electrical wire | Used to provide electrical connectivity from the power source to the switch and light fixture. |
| Switch box | A protective enclosure for the switch and its wiring. |
| Wire connectors | Devices used to connect the wires securely. |
| Voltage tester | A tool to confirm that the electrical circuit is de-energized before working. |
FAQ
Can I install a light switch without a professional?
Yes, if you have basic electrical knowledge and tools, you can install a light switch securely. However, ensure you follow local codes and safety guidelines.
What should I do if the light switch doesn't work?
If the light switch does not work after installation, it's important to recheck your wiring connections to ensure everything is securely in place and properly wired.
Is additional wiring required for a new switch?
Yes, if you are relocating a light switch, you will likely need to run new wiring from the existing circuit to the new switch location.
How high should I install a light switch?
Light switches should typically be installed about 48 inches from the floor to comply with standard accessibility guidelines.
What type of wire is best for running to a light switch?
For residential lighting, 14 or 12 gauge NM (non-metallic) wire is commonly used, depending on the circuit's amperage requirements.