How to replace a broken light switch in minutes
Replacing a broken light switch can be done in minutes with the right tools and safety precautions. This guide will provide a step-by-step process to ensure that you can efficiently handle this electrical task.
Gathering the necessary tools and materials
Before starting the process, it's essential to gather all the necessary tools and materials. You will need a flathead screwdriver, a Phillips screwdriver, a voltage tester, electrical tape, wire connectors, and of course, the replacement light switch. Make sure the replacement switch is compatible with your current wiring setup and rated for the required voltage.
Ensuring safety first
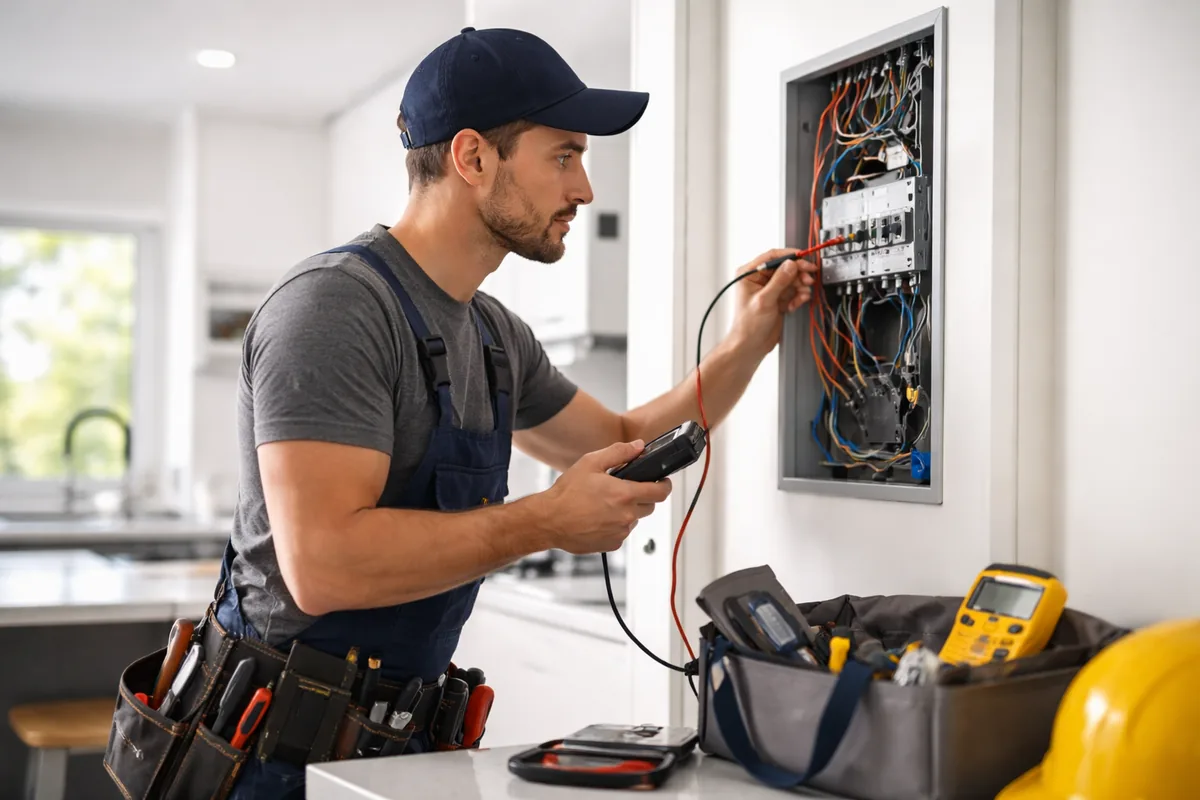
Safety should always be your priority when working with electrical systems. Begin by turning off the power to the light switch at the circuit breaker. Locate the breaker that corresponds to the switch, and ensure it is in the 'off' position. Use a voltage tester to confirm that there is no power running to the switch before starting the replacement process. This step will prevent any risk of electric shock.
Removing the broken switch
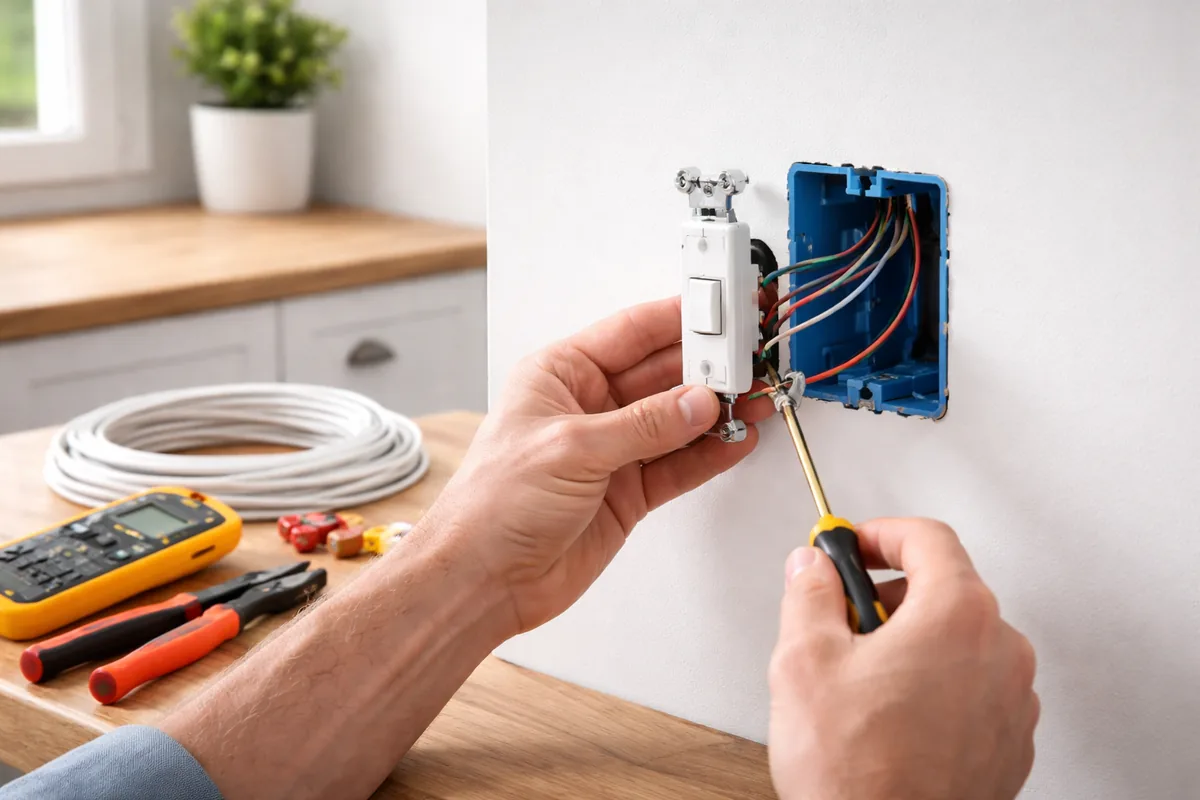
Once you have confirmed that there's no power, it's time to remove the broken switch. Start by unscrewing the cover plate with your flathead screwdriver. Next, unscrew the switch itself from the electrical box, which may require a Phillips screwdriver. Carefully pull the switch out, exposing the wiring behind it. Take note of how the wires are connected to the switch, either by writing it down or taking a picture. This reference will help you connect the wires correctly to the new switch.
Disconnecting the old switch
With the switch pulled out, you will see three terminals: a common terminal and two traveler terminals. Depending on the switch type, there may be different color-coded wires attached. Loosen the screws and carefully disconnect each wire from the old switch. Be careful not to let the wires fall back into the electrical box, as this can complicate the installation of the new switch. Use electrical tape if necessary to secure the wires temporarily.
Connecting the new switch
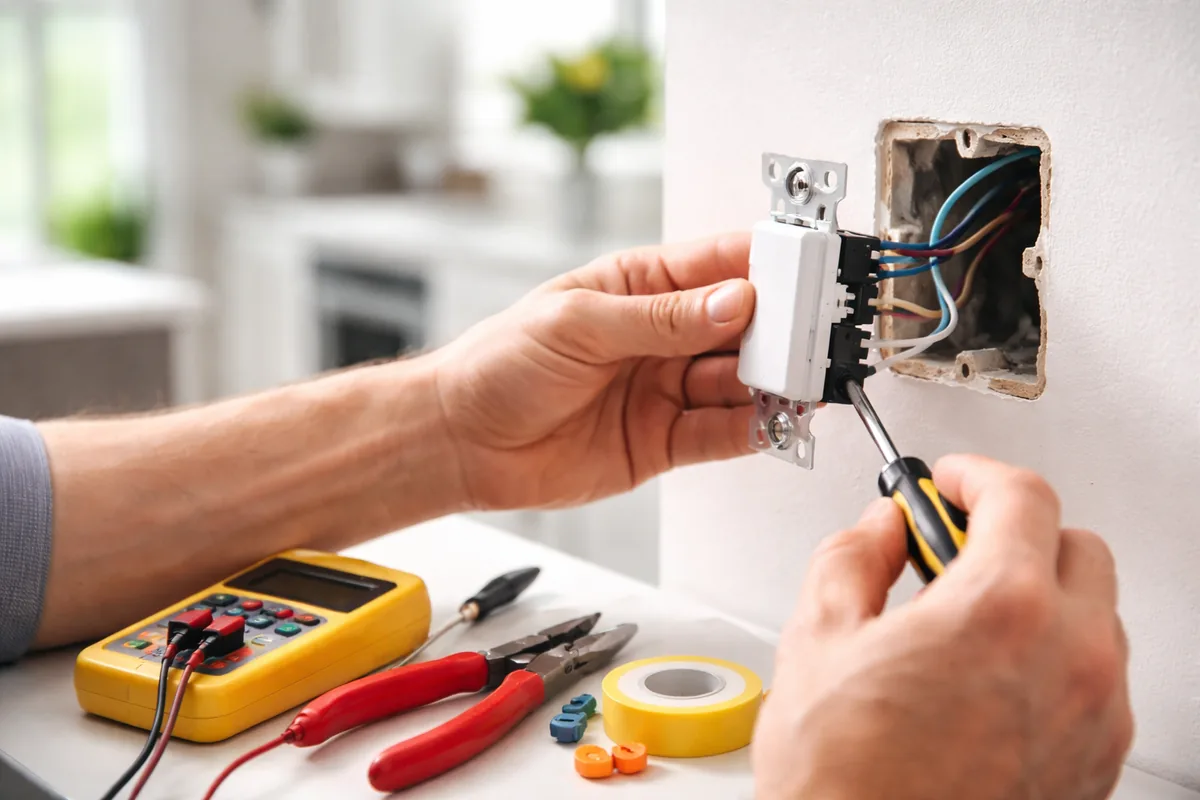
Now that the old switch is out, it’s time to connect the new one. Ensure you identify where each wire connects as per your notes or photo. Begin by attaching the common wire to the common terminal, followed by the two traveler wires to their respective terminals. Ensure that each wire is secure by tightening the screws firmly, but avoid over-tightening, which can damage the wires.
Securing the new switch
After connecting the wires, gently push the new switch back into the electrical box without crimping any wires. Secure the switch with the screws you removed earlier. Finally, replace the cover plate over the switch. This will not only provide a finished look but also serve as an additional safety measure to prevent accidental contact.
Restoring power and testing
Return to the circuit breaker and flip the switch back to the 'on' position. With the power restored, test the new light switch by turning the light on and off several times to ensure it functions properly. If the switch doesn't work, double-check your connections and the condition of the wiring.
Understanding different types of light switches
It's valuable to understand the different types of light switches available, as your method of replacement can vary slightly depending on the type you have. Here’s a brief overview of common switch types:
| Switch Type | Description |
|---|---|
| Single-pole switch | The most common type of switch, controlling one light from one location. |
| Three-way switch | Allows control of a light from two different locations, typically used in hallways. |
| Dimmers | Adjust the brightness of the light, adding atmospheric effects to the room. |
| Smart switches | Control lighting remotely via a smartphone or integrated with home automation systems. |
Common mistakes to avoid
When replacing a light switch, there are some common mistakes you should avoid. First, always remember to turn off the power; never skip this crucial step. Second, ensure that you understand the wiring layout before disconnecting the old switch. Labels or photos can be lifesavers. Lastly, check the switch rating to confirm it matches your circuit's voltage to prevent future issues.
Maintaining your switches
Once you've replaced your broken light switch, maintenance is key to prolonging its life. Keep the switches clean and dust-free by wiping them down with a damp cloth. If you notice any flickering or issues with other switches, this may indicate a larger electrical problem, and it's advisable to consult with a licensed electrician.
FAQ
Can I replace a light switch without turning off the power?
No, it is hazardous to replace a light switch without turning off the power at the circuit breaker. Always ensure safety first.
What should I do if the new light switch doesn’t work?
If the new switch doesn’t work, double-check your wire connections and ensure that the power is turned back on at the circuit breaker.
Are there special considerations for replacing a dimmer switch?
Yes, dimmer switches have specific requirements and should be rated for the total wattage of the lights they control. Always check the specifications.
How do I know if a switch is compatible with my electrical system?
Check the voltage rating on the switch and compare it to your existing setup. Using a tester can also help verify compatibility.
When should I call a professional electrician?
If you’re uncomfortable with electrical work or experience issues beyond simple replacements, it’s best to call a licensed professional.